What Sits Under the Tile in a Shower That Lasts
Every walk-in shower we build follows the same layered logic. The floor is sloped toward the drain, usually a quarter inch per foot. A waterproof membrane runs across the floor and up the walls, tied into the drain so water that seeps through grout has nowhere to go but down. Tile and grout go on last. Skip or rush any layer, and the shower can leak into the slab, the wall framing or the room next door.
We use either a traditional mortar bed with a liner or a modern foam-and-membrane system, depending on the room. Before any tile is set, we plug the drain and fill the pan with water for a flood test, then check for any drop in level. It’s a simple step, and it’s how we catch problems while they’re still cheap to fix.
- Sloped pan, at least a quarter inch per foot toward the drain
- Waterproof membrane on the floor and all wet walls
- Membrane sealed or clamped to the drain body
- Flood test before tile installation
- Cement board or foam board behind tile, never plain drywall
- Sealed or stain-resistant grout
Curbed, Low-Threshold or Curbless?
A standard walk-in shower has a curb, a raised lip 3 to 5 inches tall that keeps water in. It’s the simplest and most affordable option on a slab foundation. A low-threshold shower drops that curb to an inch or two, which makes stepping in easier without much slab work.
A truly curbless shower lets you roll or walk in with no step at all. On a slab, that usually means recessing the shower floor into the concrete so the tile can slope to the drain while the bathroom floor stays level. It’s more involved but worth considering if you plan to age in place. Our curbless shower page explains that process in detail.
Drain Placement and the Slab Beneath It
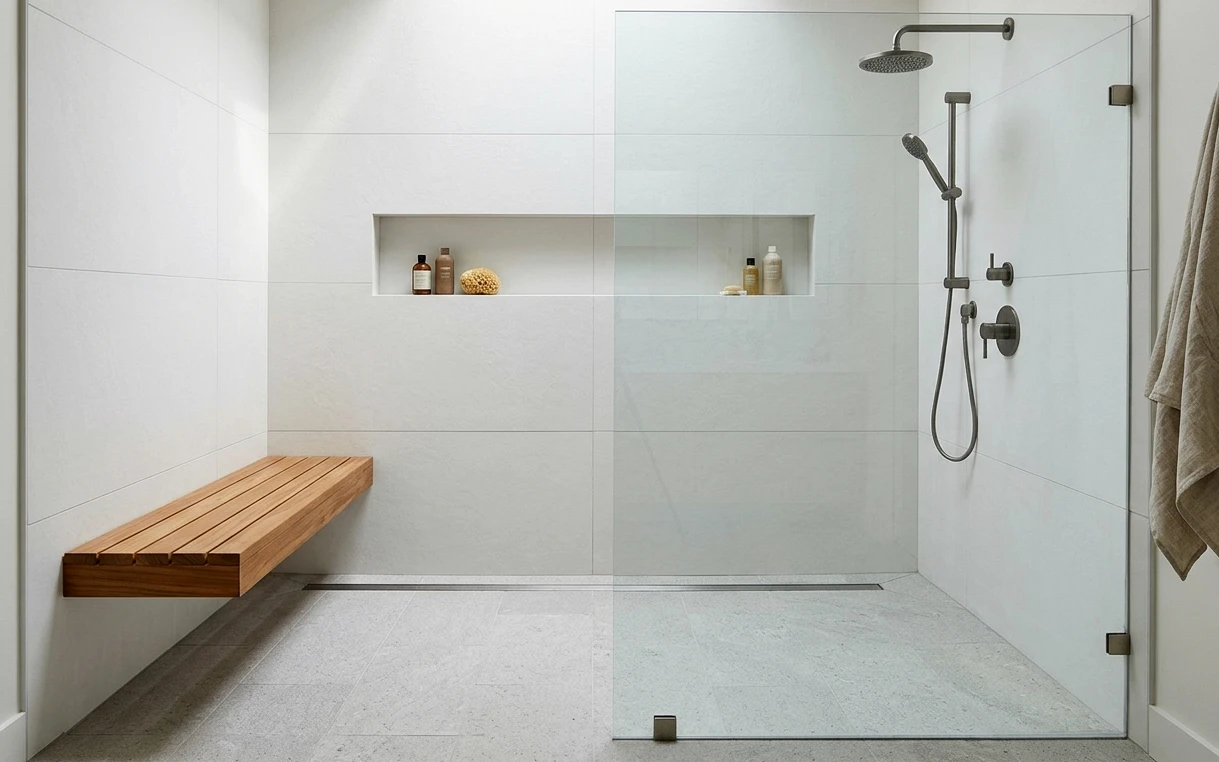
Where the drain goes shapes the whole shower. A center drain needs the floor sloped from four directions, which calls for smaller tiles. A linear drain along one wall lets the floor slope in a single plane, so large-format tile works and a curbless entry is easier.
Moving a drain on a San Antonio slab means saw-cutting the concrete, trenching to the existing line and setting new pipe at the correct slope before patching. If you’re enlarging a shower, we try to keep the drain close to the original spot or use a linear drain that can sit along the old drain line. That keeps slab work, and cost, under control.
Expansive clay is the other slab concern here. As soils swell after rain and shrink in drought, foundations flex slightly, and a rigid shower floor can crack along that movement. We use a crack-isolation layer under the tile and leave flexible sealant joints at inside corners and where the walls meet the floor.
Glass, Fixtures and Hard Water Spotting
San Antonio’s hard water is tough on shower glass. Without a protective coating, clear glass shows white mineral spots within days. We recommend glass with a factory-applied coating that helps water sheet off, plus a squeegee after each use. A glass panel without a door, sometimes called a walk-in panel, has fewer seals and hinges to clean.
Fixtures matter too. A pressure-balancing or thermostatic valve keeps water from suddenly turning hot or cold. Showerheads with rubber nozzles let you rub off scale buildup with a thumb. Choose fixtures with replaceable cartridges, since mineral deposits eventually wear them out. Our hard water guide goes deeper on protecting new fixtures.
- Uncoated clear glass shows hard water spots almost right away
- Drywall behind a shower, even painted, will fail
- Shower floors without enough slope leave standing water
- Large tiles on a center-drain floor crack or lip at the slope changes
- A missing flood test can hide a leak until after the tile is set
Benches, Niches and the Details You’ll Use Daily
A built-in bench gives you a place to sit while shaving legs, rinsing feet or resting. It needs to be waterproofed like the walls and sloped slightly so water runs off. A floating bench saves floor space, while a corner seat fits smaller showers.
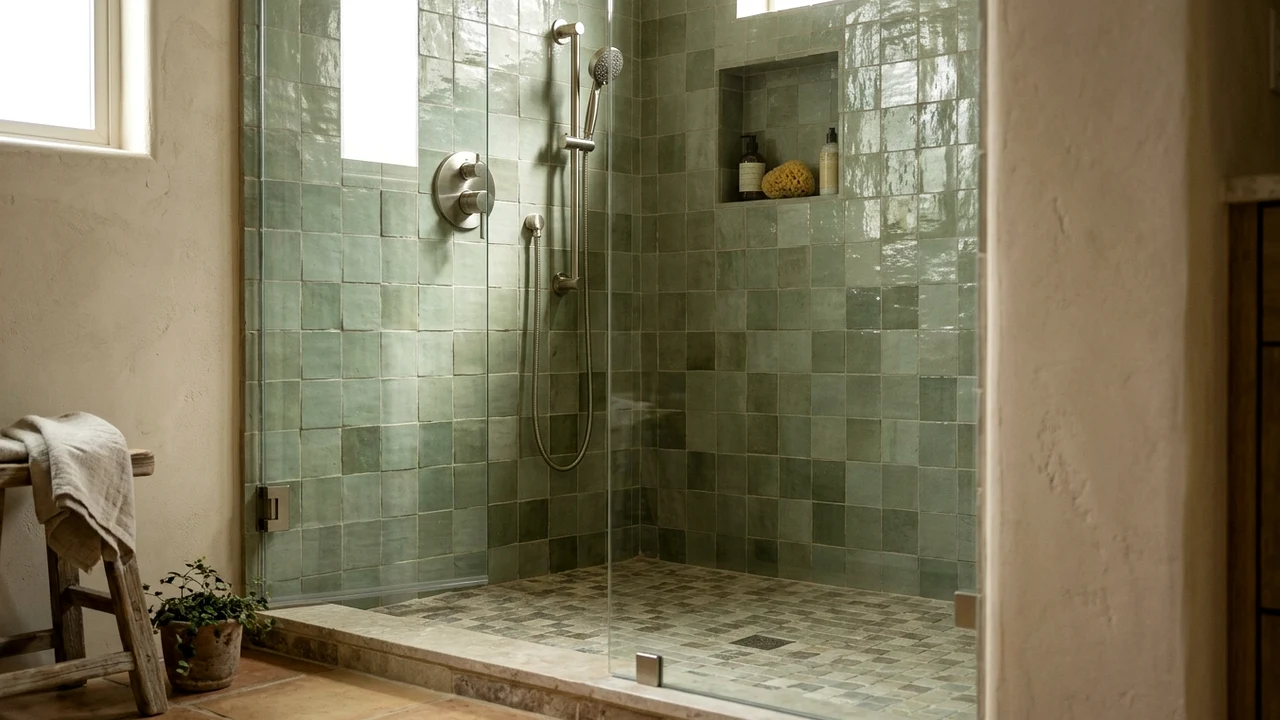
Niches recessed into the wall hold shampoo bottles without hanging caddies. We size them to real bottle heights and slope their bottoms so water doesn’t pool. A handheld shower on a slide bar makes cleaning easier and helps when someone needs to sit. A grab bar near the entry adds stability, and our grab bar installation work places blocking in the wall so bars can be added at any time.
Installation Steps, Start to Finish
Walk-in showers move through a predictable sequence, with drying and testing time built in.
- Design visit: we measure, check the slab and drain, and plan size, curb style and glass.
- Selections: tile, valve, showerhead, drain and glass style are chosen and ordered.
- Demolition: the old shower or tub is removed, and walls and floor are opened.
- Rough plumbing: the drain is adjusted if needed and a new valve is set, with inspections when required.
- Pan and waterproofing: the floor is sloped, the membrane goes on, and the pan is flood tested.
- Tile: walls, floor, niches and bench are tiled and grouted.
- Glass and trim: glass is measured after tile, then installed with fixtures, and the shower is tested.
Projects that often go with walk-in shower installation
Tub-to-Shower Conversion
Climbing over a tub wall gets old, and plenty of 60-inch alcove tubs see more showers than baths anyway. We convert that space into a step-in shower that fits the same footprint and works with the drain already in your slab.
Curbless Shower Installation
A curbless shower has no step at the entry, just one continuous floor that flows from the bathroom into the shower. It looks open and clean, and it’s easier to walk into at any age. The craft is in the slope.
Frameless Glass Shower Doors
Heavy, clear glass with minimal hardware makes a shower look larger and lets the tile show. In a city with water this hard, though, the glass you pick and how you care for it matter as much as how it looks on day one.
Shower Pan Replacement
Wet baseboards outside the shower, loose floor tile, a musty smell, or a dark stain on the ceiling below usually trace back to one thing: a shower pan that has stopped holding water. Calls are answered 24/7, so you can reach us the moment you spot it.
Walk-In Shower Installation questions
How long does walk-in shower installation take in San Antonio?
Most walk-in showers take 1 to 3 weeks of on-site work. The pan and waterproofing need time to cure and pass a flood test, and glass is measured only after tile is complete, which adds several days for fabrication. Moving a drain in the slab or adding an inspection extends the timeline.
What tile works best on a walk-in shower floor?
Smaller tiles, around 2 by 2 inches, or mosaics follow the slope of a center-drain floor and offer more grip. Larger tiles work with a linear drain, since the floor slopes in one direction. Porcelain is our usual pick for durability and low water absorption. Textured or matte finishes help with slip resistance.
Do walk-in showers need a door?
Not always. A fixed glass panel with an open entry works well when the shower is at least 5 feet long, since water stays mostly inside. Shorter showers usually need a door to control splashing. A panel without a door is easier to keep clean in hard water, with fewer seals and tracks.
Can a walk-in shower be built in a San Antonio home with slab movement?
Yes, but we take extra care. We look for cracked tile, sticking doors or wall cracks that suggest movement. If the slab is moving actively, a foundation check comes first. We use crack-isolation membranes under tile and flexible sealant at changes of plane to handle normal seasonal movement.