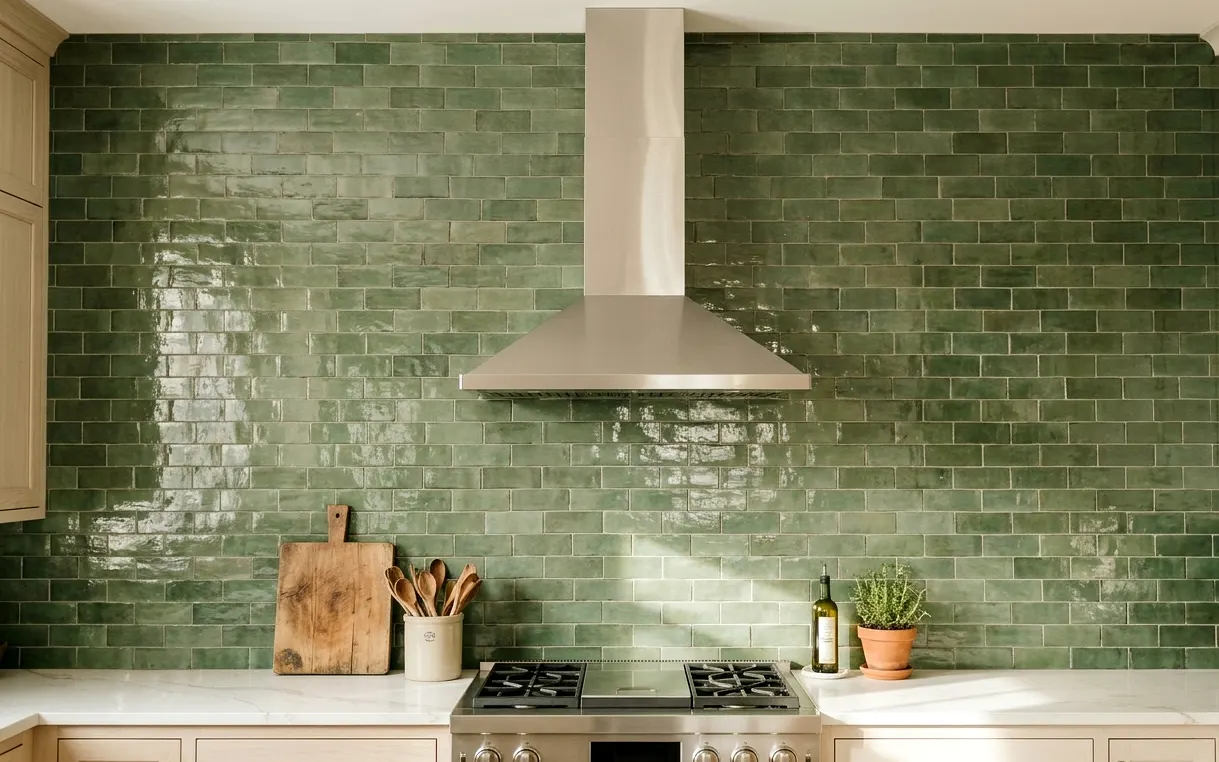
Starting With the Layout, Not the Tile
The tile you choose matters, but the layout decides whether the finished wall looks professional. Before any thinset goes on, we figure out where the pattern should be centered. Usually that’s the range hood or the window over the sink, because that’s where your eye lands. Starting from a corner instead is how you end up with a sliver of tile right beside the cooktop.
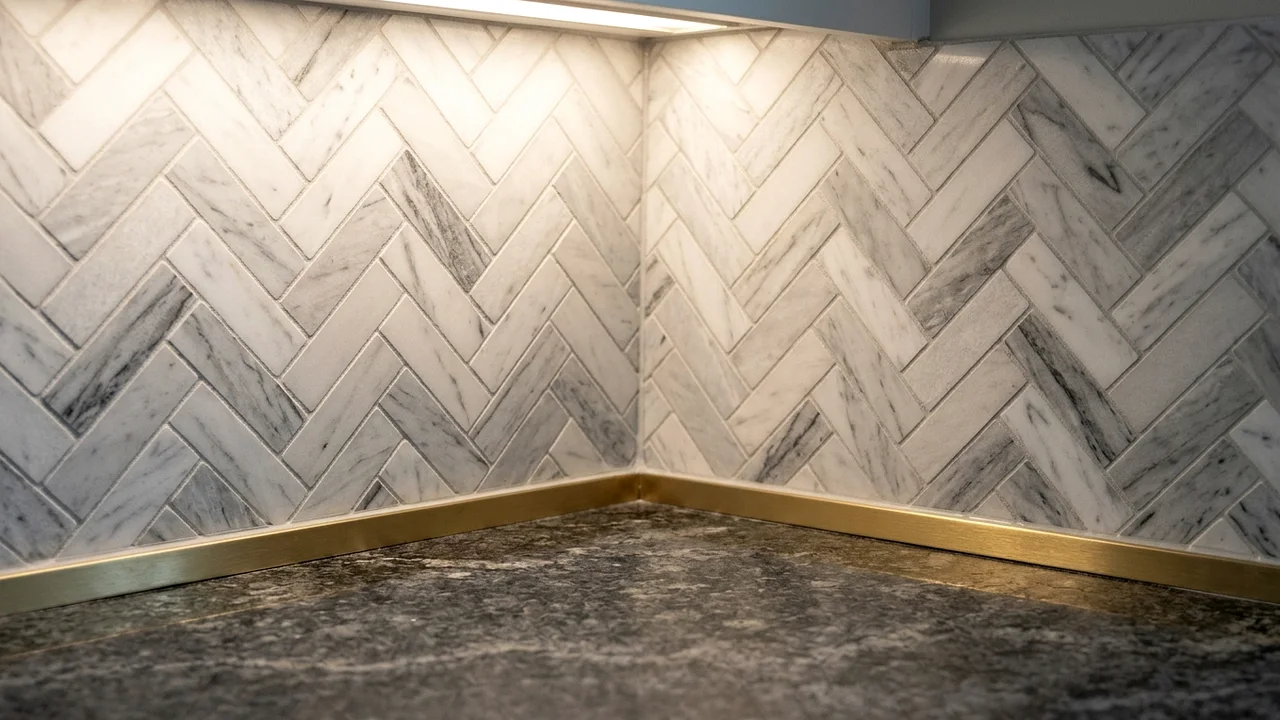
We also look at where the tile stops. A backsplash that ends at the edge of the upper cabinets looks finished. One that stops randomly mid-wall looks unfinished. Open ends get a clean edge, either a bullnose tile, a slim metal trim or a mitered corner, depending on the tile and the look you want.
- Center the pattern on the range or sink window, then work outward.
- Plan full or half tiles at outlets so cuts look intentional.
- Decide early whether the tile stops at the cabinets or runs to the ceiling.
- Choose edge trim before ordering so it matches the tile thickness.
Tile Choices and How Each One Behaves
Ceramic and porcelain subway tile is affordable, easy to clean and timeless. Glazed handmade tile gives a softer, wavy surface with color variation, but each piece is a little different in size, so setting it takes longer. Natural stone such as marble or travertine looks warm but needs sealing and can etch from citrus and vinegar.
Pattern changes labor more than material does. A straight stack or offset subway layout goes fast. Herringbone, chevron and small mosaic patterns take more cuts and more time. A full slab backsplash in quartz or stone has very few joints, which makes it easy to clean behind the range, though outlet placement has to be planned carefully.
Grout and Sealing for Grease and Hard Water
Grout is the part of a backsplash that ages first. Behind the range, grease settles into grout lines. Behind the sink, splashes leave mineral deposits from San Antonio’s hard water, which can turn white grout chalky and dark grout spotty. Picking the right grout prevents most of that.
For most kitchens we recommend a stain-resistant grout, such as a high-performance cementitious product or an epoxy grout. Epoxy resists stains best but is harder to work with and needs a skilled hand. A mid-tone grout hides more than bright white or near-black. Cement-based grouts should be sealed after curing.
- Pure white grout behind a range will show grease within months.
- Unsealed marble near the sink can etch from lemon juice and vinegar cleaners.
- Very thin grout lines on handmade tile can crack where pieces vary in size.
- Skipping a sealer on cement grout makes hard water stains harder to remove.
How a Backsplash Install Runs
Backsplash work is usually the last tile job in a kitchen and one of the quickest. A typical install follows these steps.
- Protect and prep: counters and appliances are covered, outlets are turned off and their covers removed.
- Wall check: we repair damaged drywall and check that the wall is flat enough for the tile.
- Layout lines: we mark the center point and level lines, and dry-lay the first rows.
- Set tile: tile is set in thinset, with outlet boxes extended so covers sit flush.
- Grout and clean: once the thinset cures, joints are grouted and the tile is cleaned.
- Caulk and seal: the joint at the counter is caulked, and grout or stone is sealed if needed.
Backsplashes in Older and Newer San Antonio Kitchens
Older homes sometimes have plaster walls or layers of old tile behind the drywall. In a 1940s house near Alamo Heights or Tobin Hill, we may find that the wall bows enough to need skim coating before tile goes up. In a 1960s ranch, the old backsplash might be a 4-inch strip of laminate or tile we have to cut away cleanly.
Newer homes in Alamo Ranch or Westover Hills are usually simpler, but builder-grade outlets are often placed without any thought to a future tile layout. We work around them or move them slightly during the job. If your counters are being replaced at the same time, the backsplash goes in after the new tops, which is covered on our granite countertop page.
Small Upgrades That Pair Well With New Tile
Since the wall is already open around the outlets, this is a good time to swap old outlets for new ones in a matching color, or add USB outlets. Under-cabinet lighting looks especially good on textured or glossy tile, and the wiring is easiest to run before the tile goes on. Our kitchen lighting crew often works the same week.
A new faucet is another natural pairing, especially if the old one is crusted with scale. If you’d like to see layouts sketched against your own walls, talk it through with us by phone and a designer will set a time to measure.
Projects that often go with kitchen backsplash installation
Quartz Countertops
Quartz gives you a consistent, low-maintenance surface that shrugs off coffee, wine and hard water spots. We plan the slab layout, seams and edges with you, then template and install once the cabinets are set and level.
Cabinet Painting
Paint is the cheapest way to change how a kitchen feels, and the easiest to get wrong. We clean, sand, prime and spray your cabinets with a hard finish, then let it cure before the doors go back up.
Kitchen Lighting Installation
Plenty of kitchens have one bright fixture in the middle of the ceiling and a shadow over every counter. We plan lighting in layers so you can see what you’re chopping, set a mood at night and stop squinting at the stove.
Kitchen Sink and Faucet Replacement
A dripping faucet crusted with white scale is a very San Antonio problem. We replace kitchen faucets and sinks with fixtures that handle hard water, swap tired shutoff valves, and leave the cabinet below dry and tidy.
Kitchen Backsplash Installation questions
How long does a kitchen backsplash installation take?
Most backsplash jobs take 2 to 4 days. Setting tile is usually a day, then the thinset cures before grout goes in. Grout and cleanup take another day, and sealing, if needed, happens after the grout cures. You can use the kitchen through most of it, with the stove area off limits while tile is setting.
Should a kitchen backsplash go all the way to the ceiling?
It depends on the kitchen. Full-height tile looks great behind an open-shelf wall or a range with no upper cabinets, and it makes small kitchens feel taller. On walls with uppers, stopping at the cabinets is standard. We often run tile to the ceiling only behind the range hood as a focal point.
What backsplash tile is easiest to clean with San Antonio hard water?
Glazed porcelain or ceramic with a smooth surface and a stain-resistant grout. Large-format tile or a slab backsplash reduces grout lines, which is where mineral film builds up. Avoid unsealed natural stone right behind the sink. Our hard water guide has more cleaning tips.
Can new backsplash tile go over the old tile?
Sometimes, but we rarely recommend it. Tiling over tile adds thickness, which can leave outlets recessed and edges sticking out past the cabinets. If the old tile is firmly attached and flat, it’s possible with the right primer. Most of the time, removing it gives a cleaner, longer-lasting result.
How much backsplash tile should I order for my kitchen?
Measure the wall area and add about 10 to 15 percent for cuts and breakage, more for herringbone or diagonal layouts. Handmade tile varies from batch to batch, so order everything at once and keep a few spare pieces. Those extras make future repairs easy if a tile ever cracks near an outlet or gets chipped.