Where Is the Water Really Coming From?
Shower leaks fall into a handful of groups, and each one leaves its own clues. Water that appears only while the shower runs points to the valve, the supply lines, or the drain. Water that shows up after showers, or seeps out for hours, usually means the pan or the wall waterproofing has failed and the mortar bed is soaked.
Simple tests narrow it down. We’ll run the showerhead aimed away from the walls, then flood the floor with the drain plugged, then spray the walls and glass separately. Moisture meters and a look behind an access panel, if you have one, fill in the rest. A leak that keeps going with the water off, or a warm spot on the floor, may be a supply or slab leak, which calls for a plumber’s leak detection before we open anything.
- Valve or cartridge: drips from the head or spout, or wet drywall on the far side of the valve wall
- Supply lines or shower arm: wet spots high on the wall behind the head
- Drain: stains on the ceiling below an upstairs shower, timed with draining
- Shower pan or liner: damp baseboards outside the shower and darkened grout near the floor
- Tile, grout, or caulk gaps: water getting behind tile at corners, niches, and the curb
- Door or glass: puddles on the bathroom floor outside the threshold
Opening Up Only What the Repair Needs
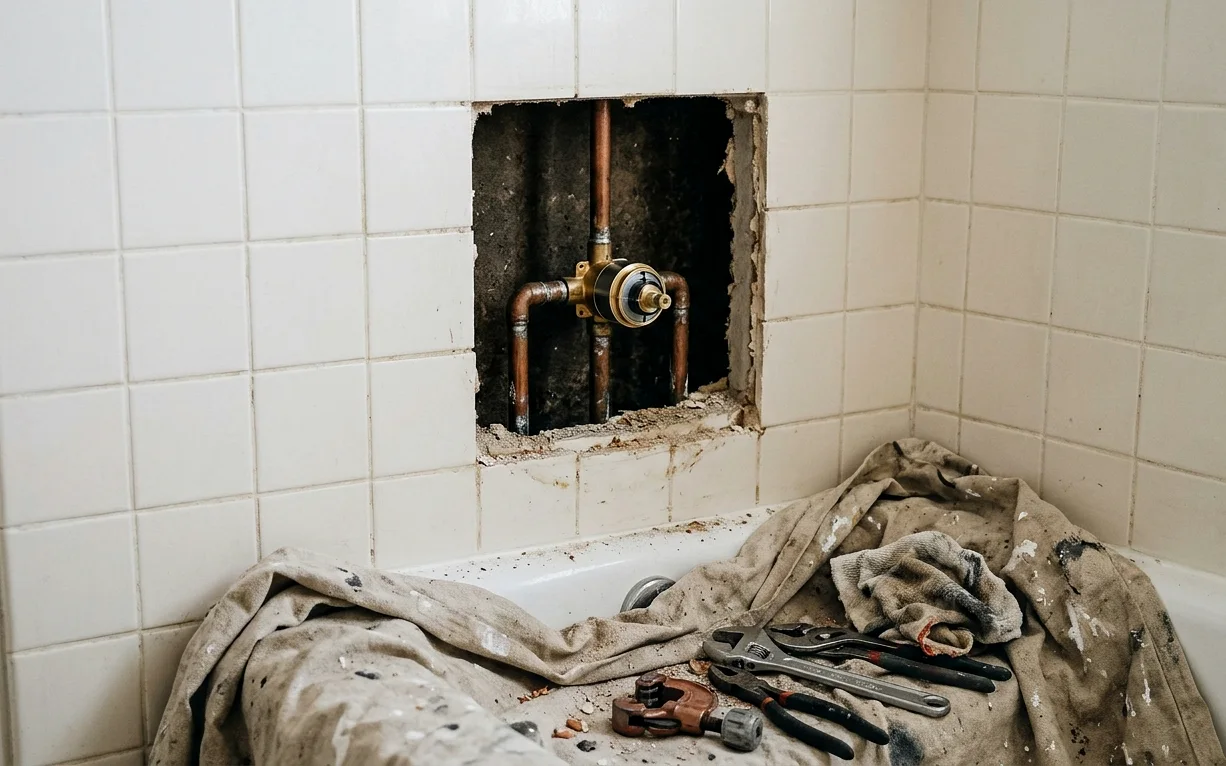
Once we know the source, we plan the smallest opening that lets us fix it properly. A valve leak can often be reached through the wall behind the shower, from a closet or bedroom, so the tile stays put. If that side isn’t accessible, we remove tile in a tidy rectangle around the valve and save matching pieces wherever we can.
Drain and pan problems are different. A cracked drain body or a failed liner under a mortar bed can’t be patched from above with caulk or sealer, even though products sold for that purpose exist. Covering a leak buys a few months and traps more water. For those, we take out the floor and the lower rows of wall tile and rebuild with a proper waterproof system. On a full rebuild, a new shower pan is the heart of the repair.
Drying Out Before Anything Gets Closed Up
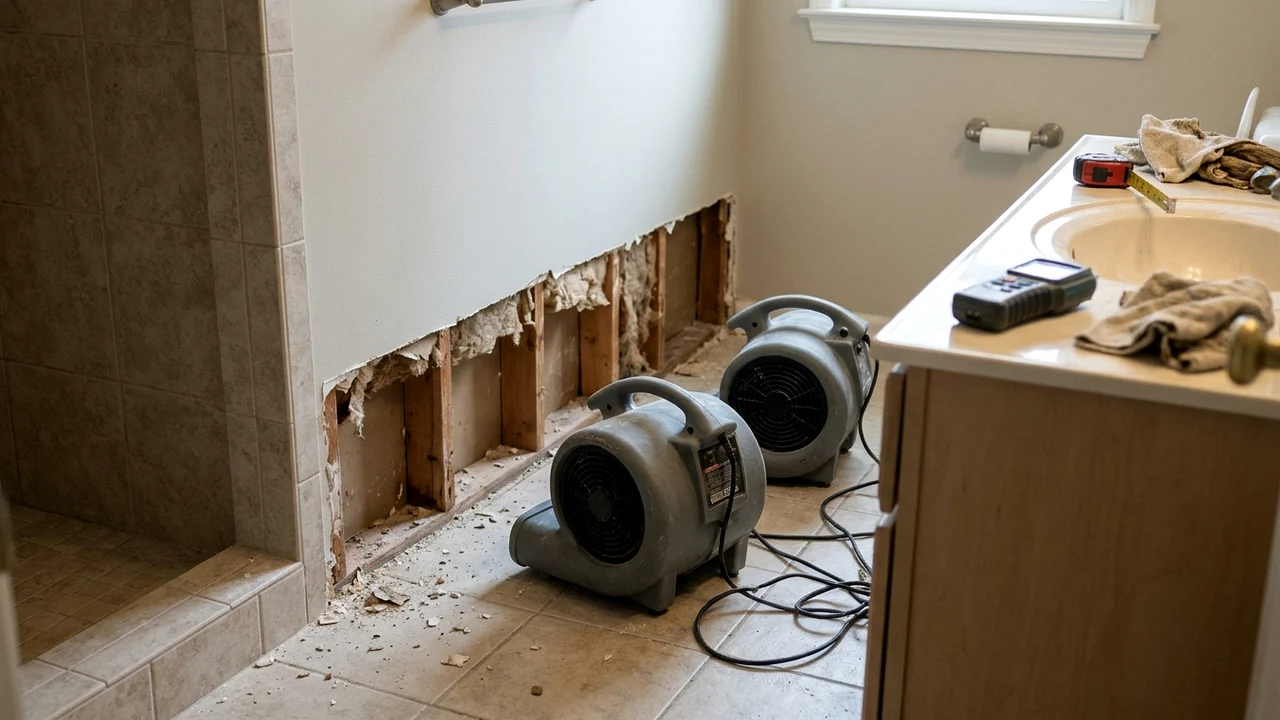
This is the step people want to skip, and it’s the one that matters most in our humid climate. Wet studs, drywall, and slab surfaces need to come down to normal moisture readings before new board and tile go on. We pull out soaked insulation and drywall, set up air movement, and take readings until the area is dry.
If there’s visible mold on framing or the back of drywall, those materials get removed and the area is cleaned before it’s rebuilt. Bigger damage that has reached a closet, hallway, or the room below falls under our water damage repair work.
How a Shower Leak Repair Runs
The order is the same whether it’s a small valve job or a pan rebuild, though the length of each step changes.
- Diagnose: water tests, moisture readings, and a look behind access panels
- Plan and price: we show you where the leak is, what has to open, and what it costs before demo
- Open: cut drywall or remove tile carefully, protecting the tub, vanity, and floors
- Fix the source: new cartridge, valve, supply fitting, drain body, or pan and liner
- Dry: air movers and readings until framing and substrate are dry
- Rebuild: cement board or foam board, waterproofing membrane, a flood test for pans, then tile, grout, and caulk
Matching Tile, or Using the Repair as a Reset
Matching old tile is the hardest part of a partial repair. Discontinued tile, faded grout, and sizes that are no longer made all come up, especially in homes from the 1970s through the 1990s. Leftover boxes in the garage are worth their weight in gold here, so check before we start.
When matching isn’t realistic, a few routes work. We can use a contrasting band or a new niche to break up the patch, or re-tile the whole shower. If the pan, valve, and tile all need attention at once, it’s usually smarter to look at a full shower replacement instead of patching three things.
Habits That Keep a Repaired Shower Dry
San Antonio’s hard water is rough on cartridges, so a valve that starts dripping again after a few years is often scale rather than failed work. Re-caulking corners and the curb when the caulk cracks, keeping grout sealed if it’s cement-based, and wiping glass tracks clear of mineral crust all help. If you’ve noticed a stain, a soft baseboard, or a musty smell near the shower, call us before it spreads further.
- Re-caulk changes of plane every year or two, or sooner if you see gaps
- Squeegee walls and glass after showers to cut down on scale
- Keep the door sweep and the drain cover clear
- Don’t ignore a drip at the showerhead after the valve is off
Projects that often go with leaking shower repair
Shower Pan Replacement
Wet baseboards outside the shower, loose floor tile, a musty smell, or a dark stain on the ceiling below usually trace back to one thing: a shower pan that has stopped holding water. Calls are answered 24/7, so you can reach us the moment you spot it.
Shower Replacement
Swap a cracked insert, a tired tile stall, or a leaky old valve for a new shower in the same footprint. We open the wall, fix what’s hiding behind it, and rebuild with materials that handle hard water.
Kitchen and Bath Water Damage Repair
Water from a failed supply line or a slow drain leak can sit inside a cabinet base or behind a tub for months before anyone notices. We find the source, dry what got wet, and rebuild the finishes so the room is whole again.
Bathroom Tile Installation
Good tile work is mostly preparation. Flat walls, a proper waterproof layer, and movement joints where the slab will shift decide whether a bathroom floor or shower stays crack free. We spend our time there, then set the tile carefully.
Leaking Shower Repair questions
Can a leaking shower be repaired without removing all the tile?
Often, yes. Valve and supply leaks can frequently be reached from the back side of the wall or through a small tile opening. Caulk and grout gaps are fixed from the surface. The exceptions are a failed shower pan or a cracked drain under a mortar bed, which need the floor and lower wall tile removed to repair correctly.
Are shower leak sealant products a real fix for a leaking tile shower?
They can slow surface water entering through grout, but they don’t repair a failed pan, liner, or drain. Worse, a sealer over a wet mortar bed can trap moisture inside, where it keeps soaking framing and slab. We use them only for grout maintenance after a proper repair, never as the repair itself.
How do I know if my shower leak is actually a slab leak in San Antonio?
Warning signs include a warm spot on the floor, the water meter moving when every fixture is off, the sound of running water with nothing on, or damp flooring away from the shower. Slab movement on our clay soils can stress buried lines. In those cases, a plumber should do leak detection first, and we handle the floor and finish repairs afterward.
How long does a leaking shower take to dry before rebuilding?
It depends on how long the leak ran and what got wet. A small wet cavity may dry in a couple of days with air movers. A soaked mortar bed or slab area can take longer. We go by moisture readings rather than the calendar, and we don’t close the wall or set tile until the numbers say it’s dry.
Will homeowners insurance cover a leaking shower repair?
That depends entirely on your policy and how the damage happened. Many policies treat sudden leaks differently from slow, long-running ones. We can document what we find with photos and moisture readings, which helps when you talk to your insurer, but we can’t tell you what your policy covers.